
Capturing the early days of a child's life is a rewarding challenge that requires a blend of technical skill and immense patience.
For those just starting out, infant photography can feel overwhelming due to the delicate nature of the subjects and the specific environmental needs they require. Unlike other genres, working with newborns means the baby’s comfort always dictates the flow of the session.
Whether you’re looking to improve your home gallery or are aspiring to go professional, mastering the basics of infant photos will help you create timeless memories. Here are 15 essential tips to help you navigate lighting, posing, and safety for a successful session.
Lighting Tips for Soft Results
Lighting is the most important part of creating that gentle, glowy look found in professional galleries.
1. Stick to Soft Natural Light
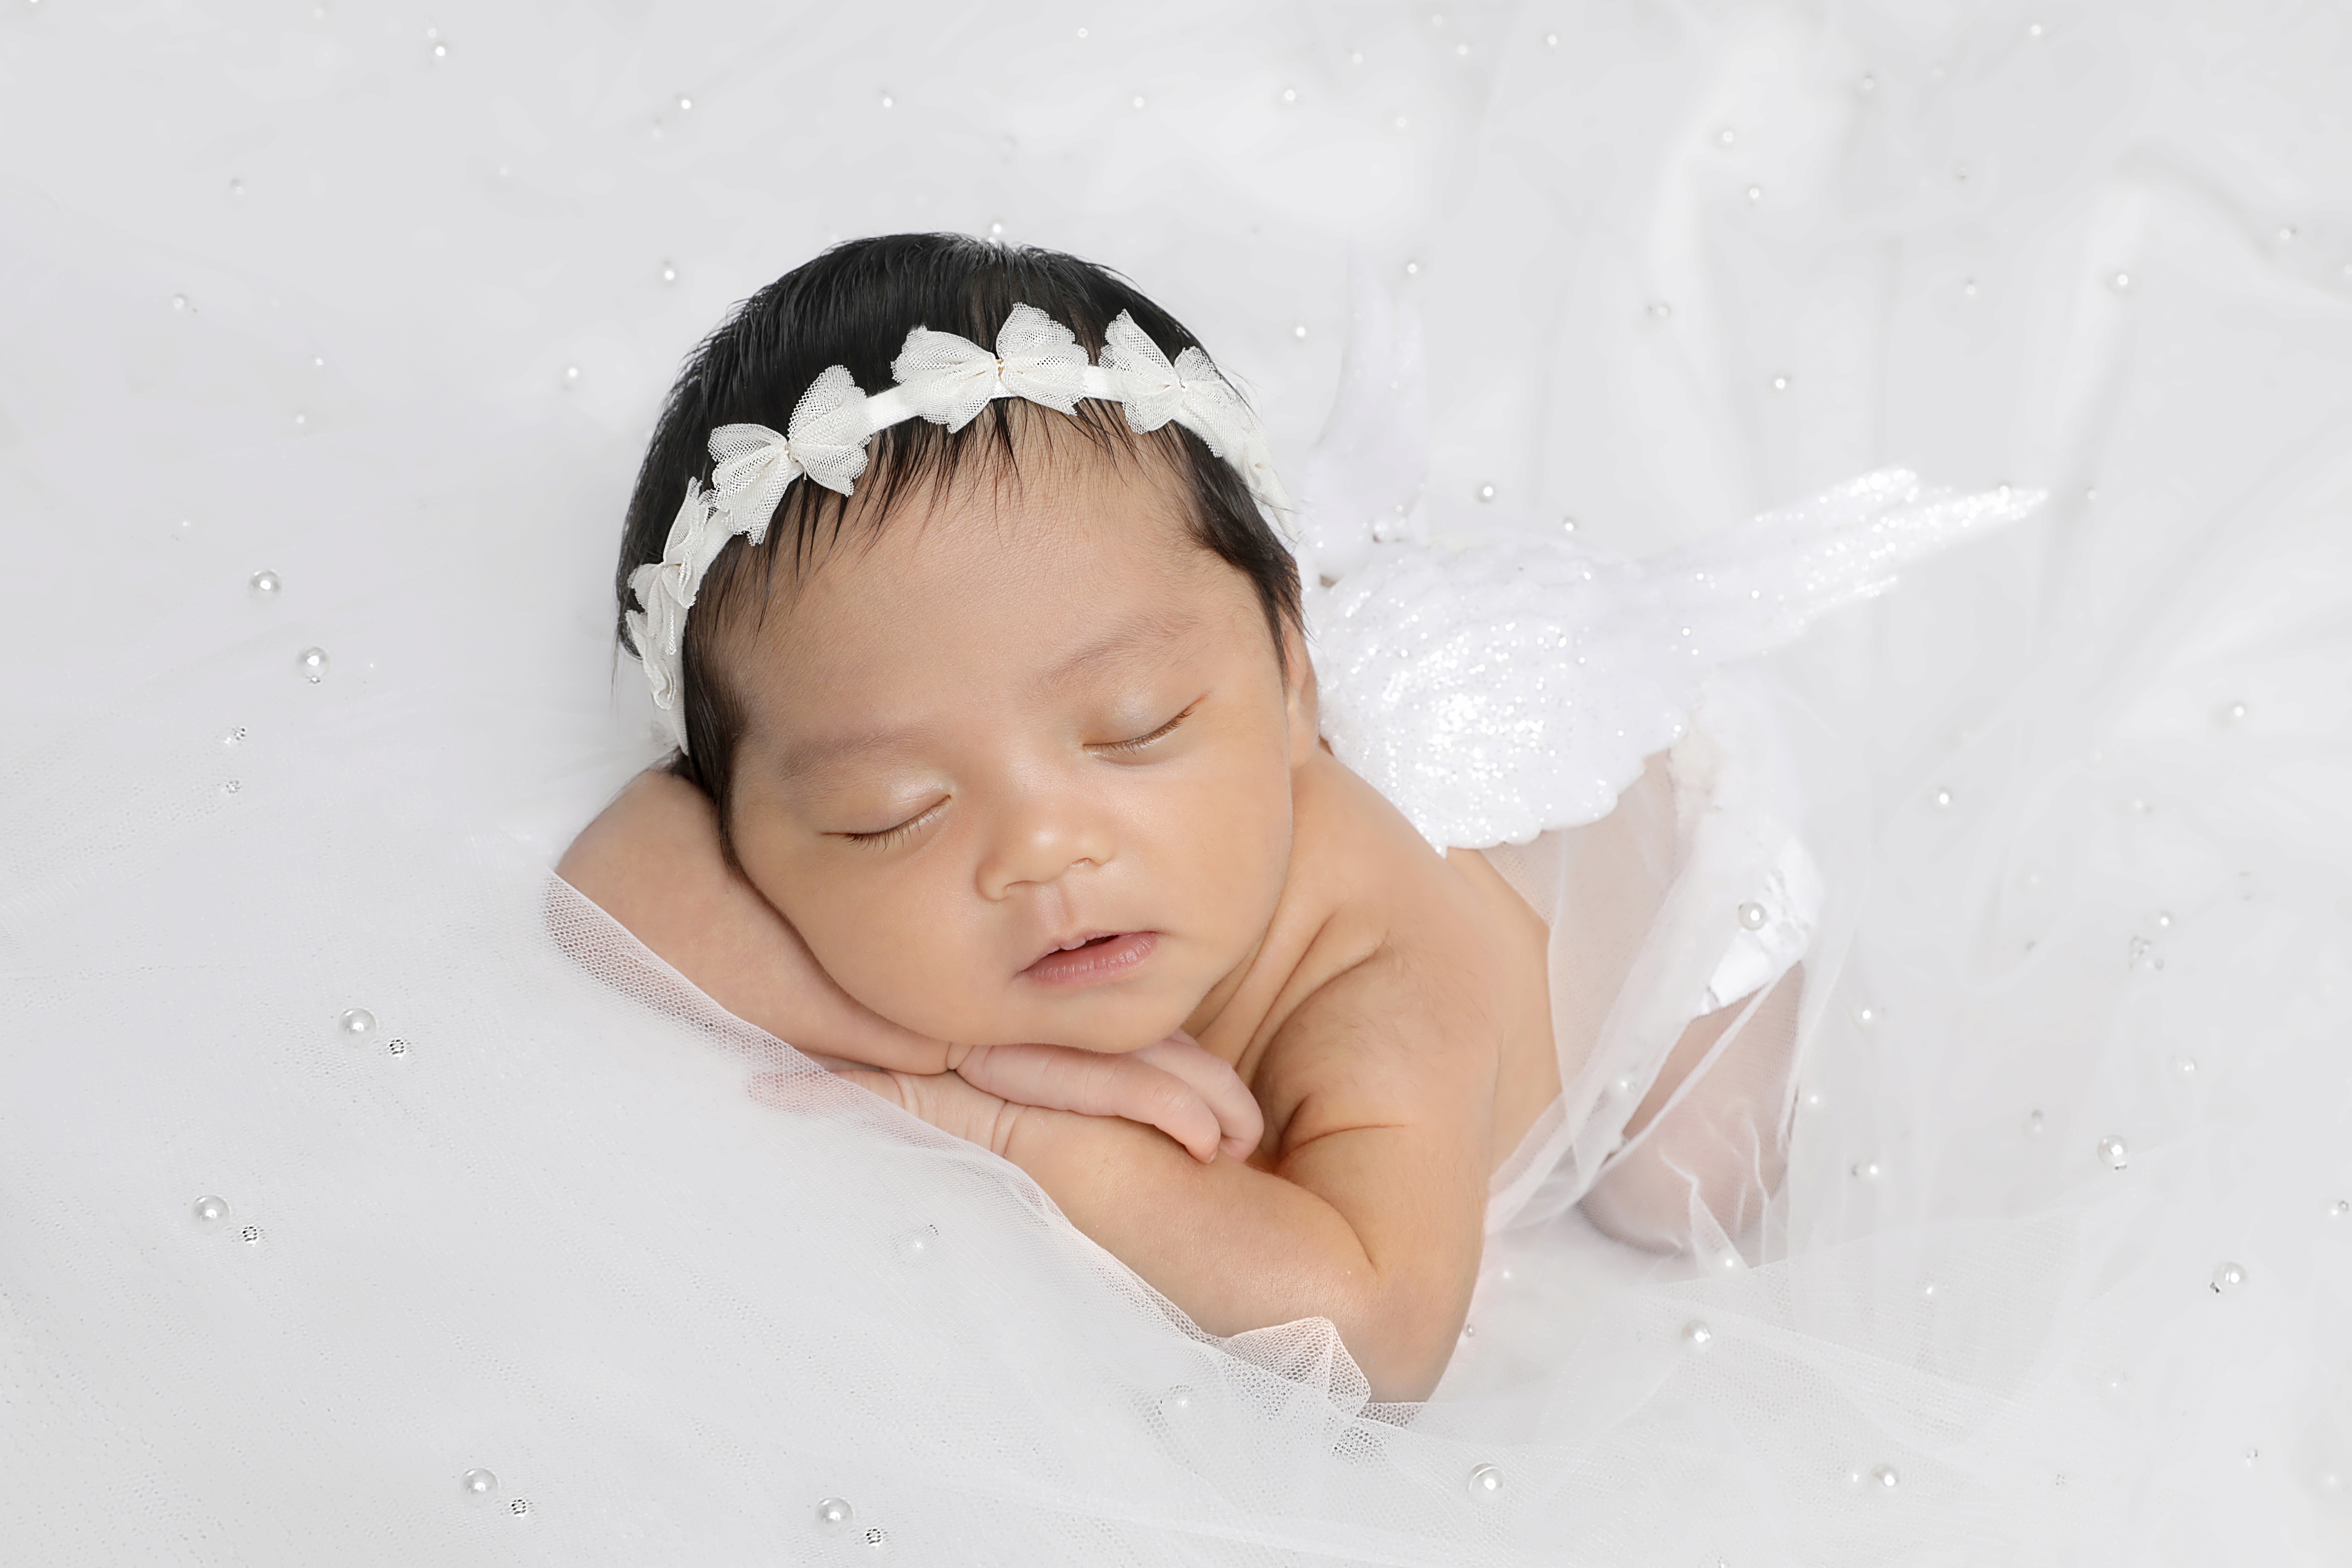
For beginners, indirect natural light is usually the best choice. Position the baby near a large window, but make sure the sun is not hitting them directly. You want the light to come from the top of the baby’s head and move toward their chin at a 45-degree angle. This creates soft shadows that define their features naturally.
2. Turn Off Overhead Lights
Standard household ceiling lights often create unflattering shadows and an odd yellow tint. Always turn off overhead lights and rely on a single light source, like a window or a softbox. This keeps skin tones looking creamy and consistent.
3. Use Simple Reflectors
If the shadows on the side of the baby's face away from the window are too dark, use a white foam board or a professional reflector. This bounces a little light back into the dark areas to balance the exposure across the face.
4. Look for the Catchlights
Catchlights are the tiny reflections of the light source in a baby’s eyes. They add life and sparkle to the portrait. When the infant is awake, position your light so you can see these small glimmers. If the infant is asleep, focusing on the eyelashes helps maintain that serene, peaceful feel.
Posing Tips for Comfort and Safety
Posing an infant requires a gentle touch and a focus on what is comfortable for their developing bodies.
5. Use a Spotter for Every Single Shot
The most important rule in infant photography is that a baby should never be left alone on a posing surface. Many of the complex positions seen online are actually "composites." This means two or more images are joined in editing while a parent’s hand supports the baby the entire time. Always have someone nearby to keep a hand on the baby.
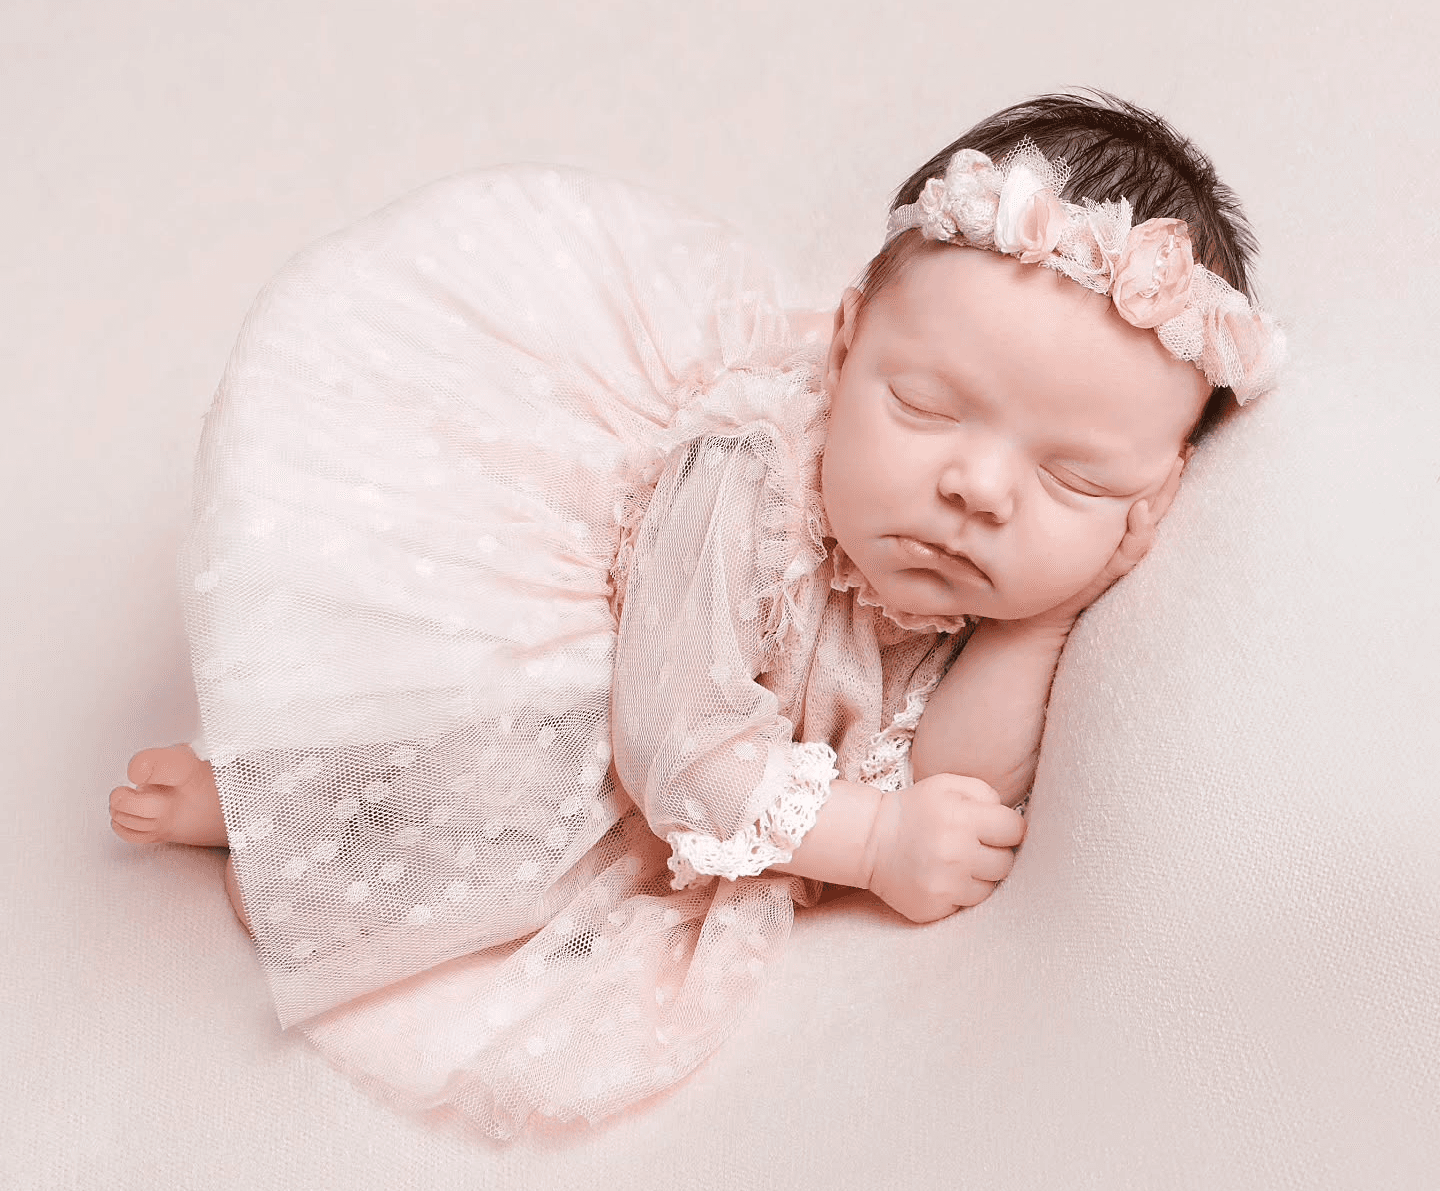
6. Try the Natural "Taco" Position for Comfort
This is a common position where the baby is curled up with their feet tucked near their face. It mimics how they were positioned before birth and is generally very comfortable for them. It is easiest to get this shot when the baby is in a deep sleep.
7. Support the Side-Lying Look with Props
Placing a baby on their side with their hands tucked under their chin is a classic, peaceful look. Use small, rolled-up towels under the backdrop to support their head and back. This prevents them from rolling during the shot.
8. Zoom in on the Tiny Details
Do not just focus on full-body shots. Use a macro lens or move in closer to capture the features parents love most. This includes tiny toes, curled fingers, pouting lips, and the soft fuzz on their shoulders. These close-ups add a lot of variety to a gallery.
9. Merge "Froggy" Poses in Post-Production
The pose where the baby rests their chin on their hands is popular but must be done as a composite. One photo is taken with a hand supporting the wrists, and another with a hand supporting the head. You then blend these in post-production so the baby never supports their own head weight.
Technical and Room Essentials
The technical setup and the room environment are just as important as your camera settings.
10. Warm Up the Room
Infants cannot regulate their body temperature well. If the baby is undressed or lightly wrapped, the room should be much warmer than usual. A quiet space heater helps maintain a cozy environment that keeps the baby in a deep sleep.
11. Use White Noise
A quiet studio can be startling for a newborn. Using a white noise machine or a phone app mimics the sounds of the womb. This constant background hum helps drown out the click of the camera shutter and keeps the baby settled.
12. Watch the Calendar
The best time for traditional portraits is within the first 5 to 14 days after birth. During this window, they are sleepier and more flexible. If the family missed this window, you can still get beautiful newborn photography by focusing on more "lifestyle" shots that involve more movement.
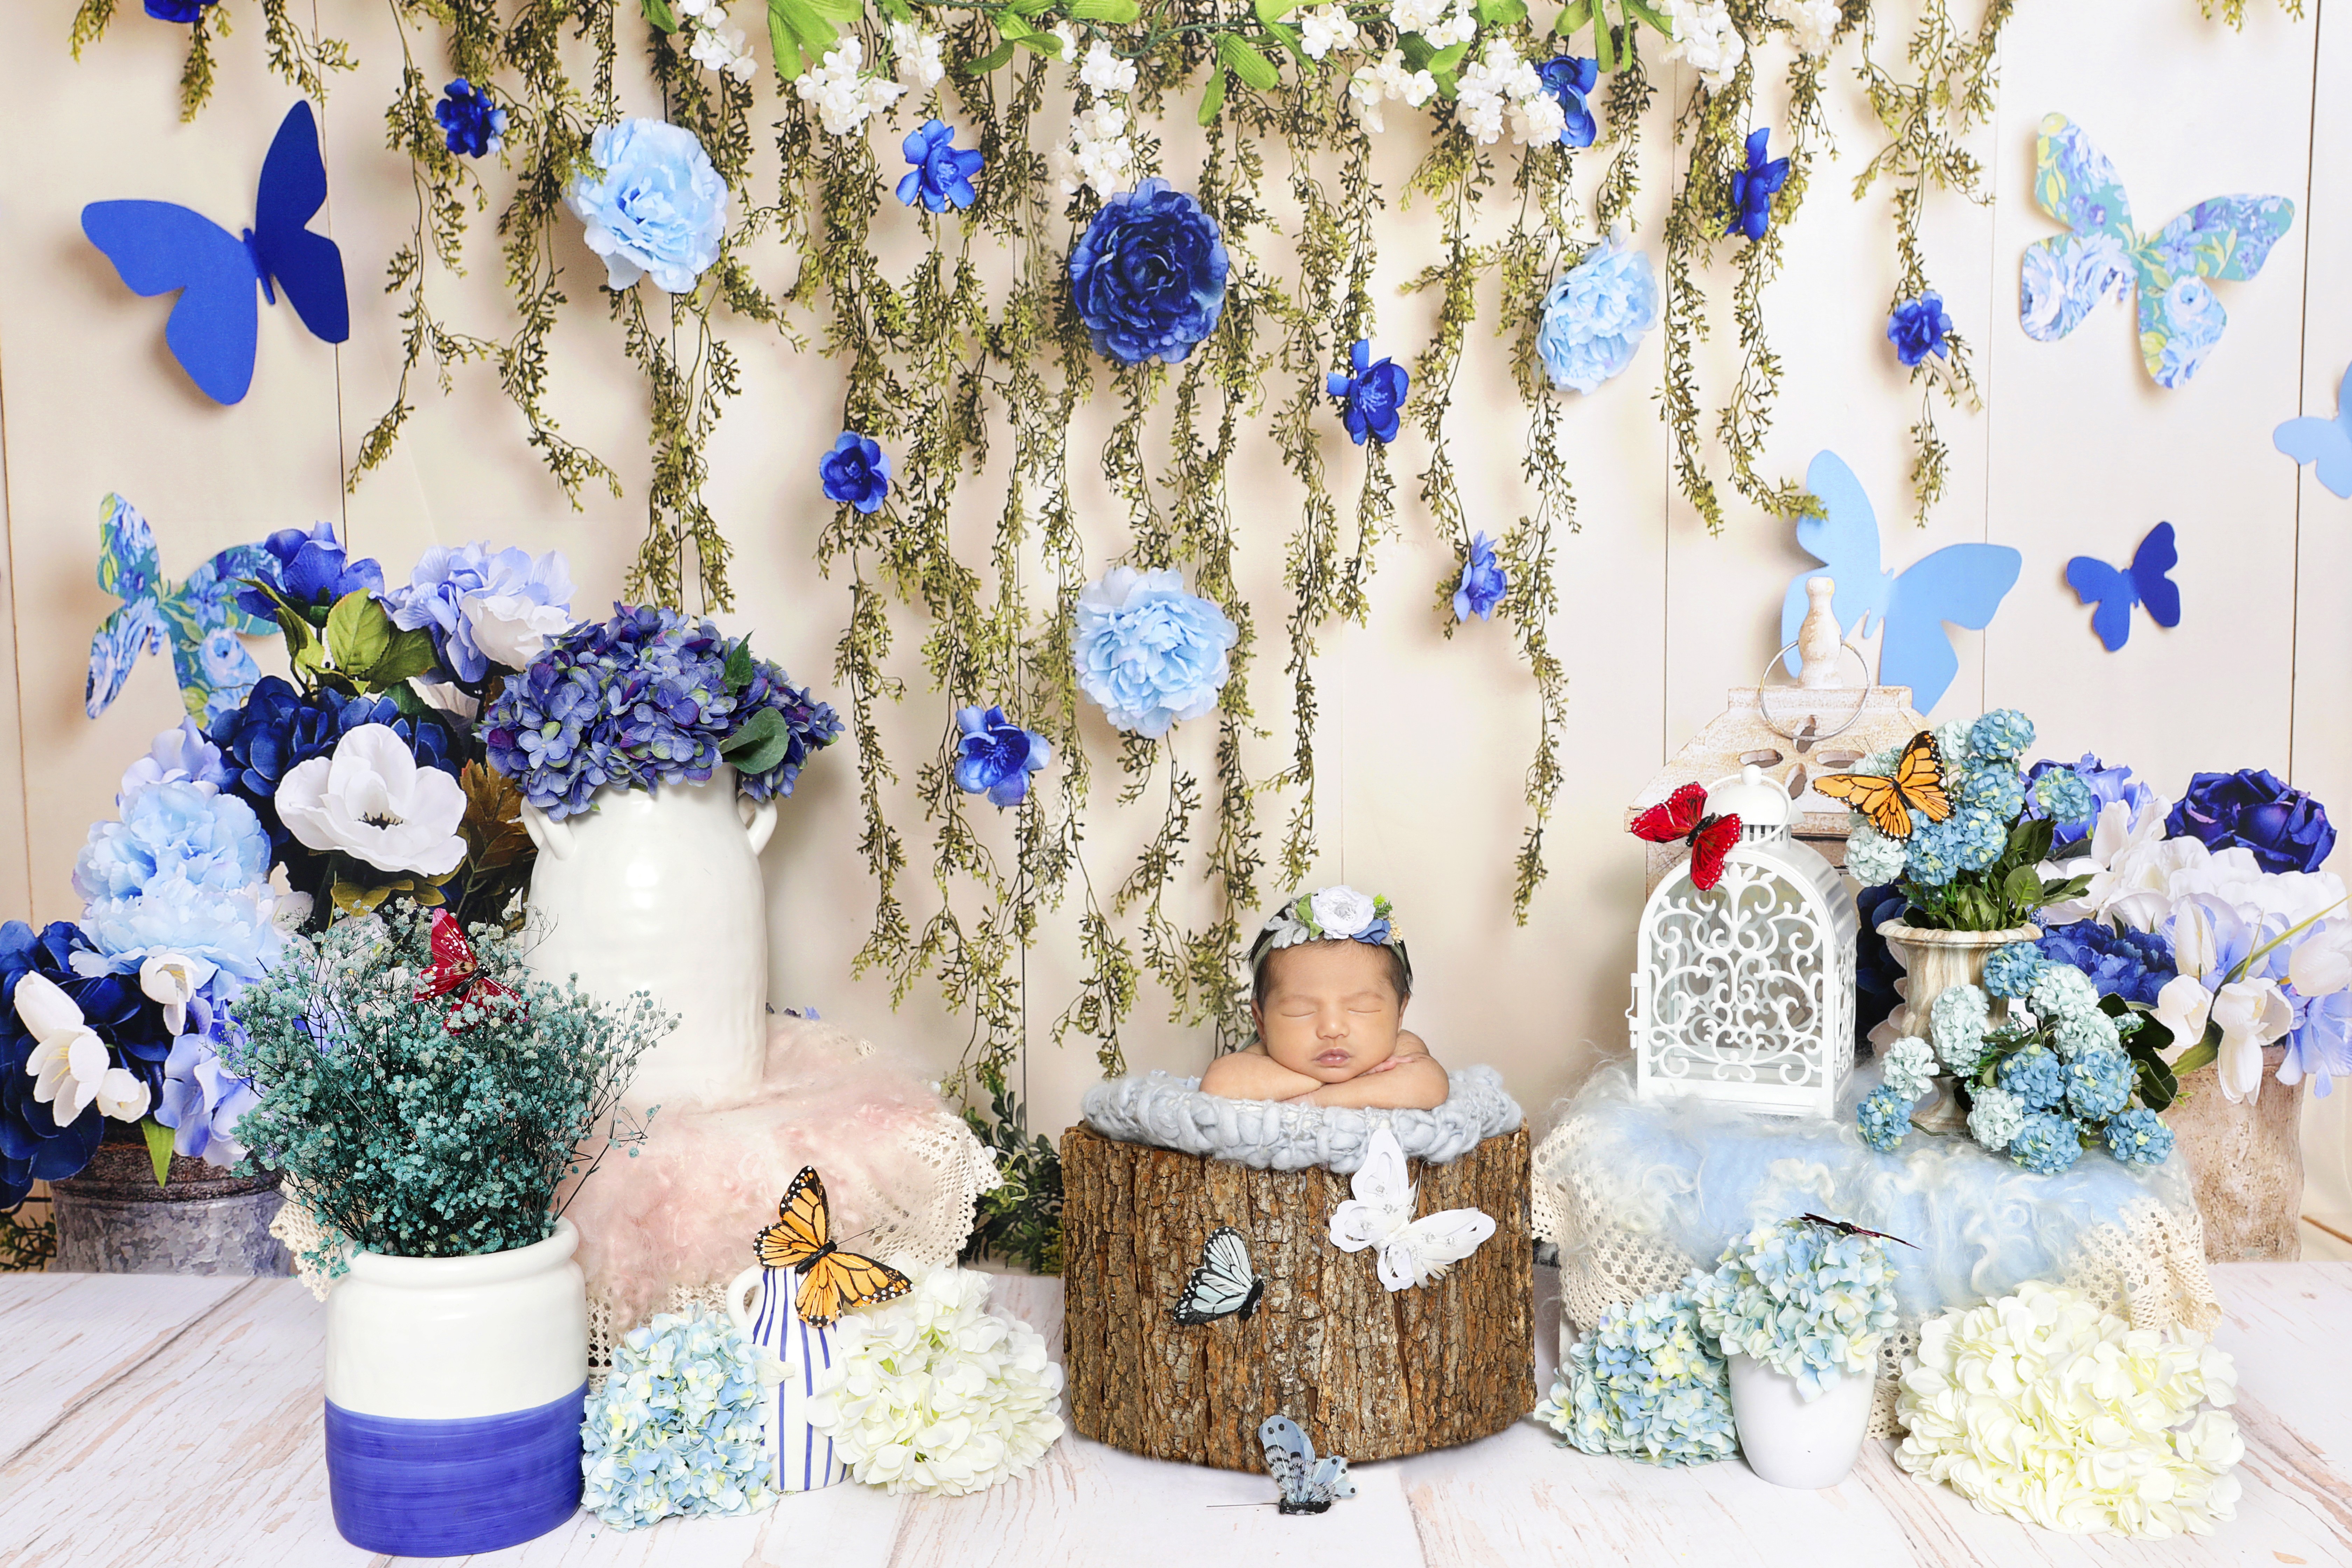
13. Choose Simple Props and Fabrics
It is easy to get carried away with accessories, but the focus should stay on the infant. Use neutral-coloured blankets and simple wraps that do not distract from the subject. Textures like chunky knits or soft furs add depth to the photo without cluttering it.
14. Use a Wide Aperture
To get that soft, blurry background that looks professional, use a wide aperture like f/1.8 or f/2.8. This draws all the attention to the baby and hides any distractions in the background.
15. Plan for Frequent Breaks
A hungry baby will not cooperate. Expect to pause the session often for feedings and changes. A full baby is a happy baby. Start with the baby wrapped, as they feel more secure, and move to unwrapped poses only once they are deeply asleep.
Building a Better Session Flow
For beginners, the difference between a stressful shoot and a successful one is often the order of operations. Having a plan helps you stay calm, which helps the baby stay relaxed.
Start with Family Portraits
If you are including parents or older siblings, do these shots first. Older children often have short attention spans, so getting their photos out of the way allows them to go play while you focus on the individual infant shots. Many parents choose to celebrate the one-year mark later on with a high-energy birthday cake smash to document that major milestone.
Transition from Wrapped to Unwrapped
Begin the session with the baby snugly wrapped. This provides a sense of security and helps them fall into a deep sleep. Once the baby is settled, you can slowly transition to semi-wrapped or unwrapped poses without waking them up.
Keep Editing Natural
When editing infant photography, the goal is to clean up the image rather than change it entirely. Fix minor skin redness or temporary blemishes, but do not over-smooth the skin. You want the final images to look like a polished, professional version of reality.
Beyond the Lens: The Art of Quiet Patience
Patience is more important than any lens you own. There will be sessions where the baby does not sleep or where things do not go as planned. Staying flexible and following the lead of the infant results in better, more authentic photos. With practice and a focus on safety, you can create stunning portraits that families will treasure forever.
Every infant is different, and what works for one might not work for another. The best infant photos come from a place of calm and care. By taking your time and prioritising the needs of the baby over the perfection of a pose, you build trust with the parents and create a better environment for beautiful photography. Success in this field is measured as much by the comfort of the child as it is by the final image on the screen.
Table of Content


